
How to Build the Perfect Winter Campfire
Share
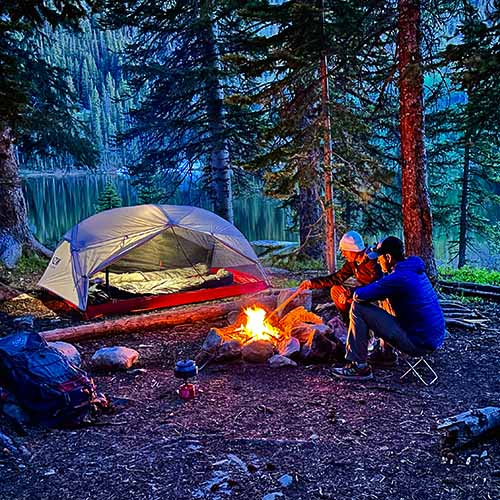
There’s nothing quite like the glow of a warm campfire on a cold winter night. Whether you’re deep in the backcountry or cozying up near your tent at a snow-covered campground, a well-built fire is more than a luxury; it’s essential for warmth, cooking, and morale. But in snowy or damp conditions, getting a fire started can feel nearly impossible.
With a few smart techniques and the right gear, you can master the art of the winter campfire. Here’s how to do it right.
Choose the Right Spot (pretty easy)
Start by finding or creating a safe, dry location for your fire. Look for a sheltered area protected from strong winds but still well-ventilated.
- Avoid low spots where water or melting snow might pool.
- If the snow is deep, pack it down with your boots or a shovel until it’s firm.
- Lay down a base of logs or rocks to keep your fire elevated and insulated from the snow.
Prepare a Dry Base
The biggest mistake campers make is building their fire directly on the snow. As soon as it starts burning, the snow melts and drowns the fire. Instead, create a dry platform using:
- Flat pieces of bark
- A few larger logs
- Or a small layer of stones
Preparing a dry base keeps your tinder and kindling off the wet ground, so they stay dry long enough to catch fire.
Gather the Right Materials
When conditions are damp, your choice of wood and tinder makes all the difference.
- Tinder: Use dry materials that ignite easily — cotton balls with petroleum jelly, dryer lint, or birch bark. You can also pack a small fire starter from home for insurance.
- Kindling: Look for dead branches from trees, not the ground. Wood that’s still hanging tends to stay drier.
- Fuel: Once your fire is going, add larger, seasoned logs that will burn hot and slow.
Pro tip: Carry a few pieces of fatwood (resin-rich pine wood) or use Near Zero’s fire starter kit, which comes with many fire starters for camping and makes a great companion for this.
Use the Log Cabin or Teepee Method
When it comes to structure, both methods work—but the log cabin style tends to be more stable and better suited to snowy conditions.
- Stack two larger logs parallel to each other.
- Add two more on top, perpendicular to each other, creating a square “cabin” shape.
- Place tinder and kindling in the center.
- Light from multiple sides for an even burn.
If you’re working with wind, you can also build a teepee-style fire, shielding one side with larger logs or a rock wall to prevent the flame from blowing out.
Keep It Going
Once your fire is burning:
- Add wood gradually. Overloading it too soon can smother the flames.
- Rotate logs to ensure they burn evenly.
- Keep extra wood dry by stacking it under a tarp or nearby shelter.
In damp weather, a steady, small flame is better than a big burst that fizzles out. Near Zero’s pocket fire bellows is small but helps keep the fire going.
Safety First
Even in the snow, fire safety matters:
- Always keep water or snow nearby to extinguish your fire.
- Never leave your campfire unattended.
- Before going to bed, douse the embers completely, stirring until cool to the touch. Using a camp shovel, like Near Zero’s titanium shovel, makes an excellent tool for this!
Gear That Helps
Having the right equipment can make or break your winter fire-starting success. Consider packing:
- A fireproof mat or aluminum sheet for your base
- Windproof lighter or storm matches
- Compact shovel for clearing and managing snow
- Waterproof fire starter kit
Starting a fire in the snow takes patience and preparation, but once those flames start dancing, it’s pure winter magic and comfort. The crackle, warmth, and glow can transform a freezing night into one of your most memorable camping experiences.
So next time you head out for a cold-weather camping trip, pack smart, plan, and master your winter campfire skills. Be sure to pack Near Zero’s zero-degree sleeping bag to help trap the heat you’ve gathered for a comfortable night's sleep, and a sleeping quilt for added comfort.